DesignItMakeIt LoveIt
A guide to the design and making of the π (Pi) cabinet.
Part III; Creating the cabinet.
Material Selection
I have covered the general pro’s and con’s of solid wood vs. veneers elsewhere on this website, but some of the considerations were more specific to this project;
It would be much easier to achieve the required “burr lining” to the cupboard sections if the whole cabinet was veneered, since there would have been no need for the separate ply boxes I had to use with solid shelves.
I initially considered it would be easier to create the upturn on the top in solid, although with the benefit of hindsight, I think it might have been easier in veneered ply.
Using veneers might be considered to be straying too far from the brief of being inspired by the traditional Kazaridana cabinets.
The asymetrical design required more “flatness” in the shelves than would be available by veneering plywood or MDF (true; “flatness” is one of the main selling points of those materials, but only because the main customers for them are builders, not furniture makers).
Buying the Materials.
I was beginning to understand why most people in the woodworking industry prefer to use really boring, straight grained, homogeneous wood. By suggesting Rippled Sycamore or Maple for the curved components I had given myself quite a headache to actually get hold of the stuff.
It involved a 400 mile round trip to a specialist in woods for musical instruments. It isn’t the sort of thing you can just order online unfortunately – being a natural product there are just too many variations within each piece of wood to not make a personal selection.
Even when you are in front of the boards themselves, it is still really scary spending four or five times the price of Oak on wood that has not yet been planed, thus sewing at least a few inevitable seeds of doubt as to whether I was purchasing wisely. You have to learn to look through the murk of the rough sawn face, trying to guide your imagination to see what really lies beneath, rather than what you really, really, want to be there just because you have spent the last hour shifting heavy boards.
Fortunately the Walnut was a little easier to buy and “only” about twice the price of Oak. I opted to have it delivered as I did not want to make decisions about where to cut it while I was stood in a chilly timber yard. That would be like a much more expensive version of going to the supermarket when you are hungry.
Timber preparation
The process by which I try to optimise my use of the rough-sawn timber, both for the benefit of the final work and to avoid wastage of a valuable natural resource will probably be the subject of a future blog-post. For now, I will just say there were a few careful hours of inspection before any cuts were made.
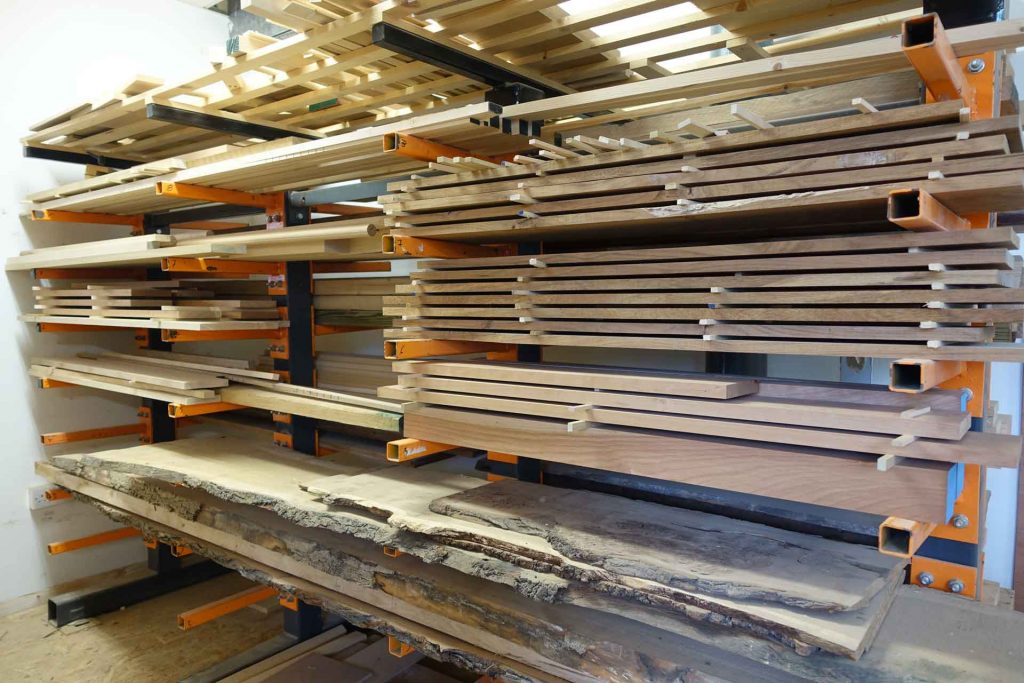
Once it had been prepared roughly to size it needed to sit on the timber rack for a few weeks to relieve any internal stresses which had been modified by the sawing process.
Making the Cabinet
Curved Legs
One of the biggest decisions to make up front with regards to the construction was whether or not to cut the legs into individual sections to match the size of the shelves, or to keep them whole, running through the shelves in unusually shaped holes.
At the time I wasn’t sure how to make the confusingly-shaped holes, so I went with separate sections, but I now believe I do know. Hopefully, in a few months I will be explaining how I proved this on the set of library steps I am currently working on.
But how to cut them into sections, all of different sizes?
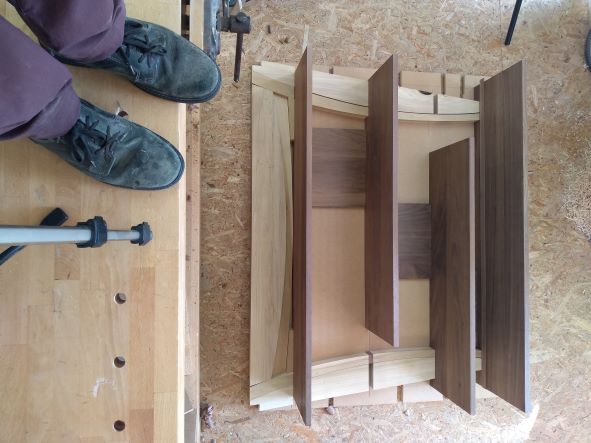
To compress several weeks of head scratching into a couple of paragraphs, I basically had to construct a jig into which I could firmly clamp each leg piece while they were accurately cut to length. I then used the same jig to cut the vertical shelf sections to exactly the same lengths.
The challenges of an asymmetric design.
Precision
Normally when cutting things to length, as long as everything that needs to be identical is identical, then even if it is half a mm over or under it will not show as long as they are all out by the same amount. In this case, because of the asymmetrical nature of the design, if something was half a mm over or under, that would be the size of the gap which would open up somewhere else on the piece.
It meant I had to sand all the shelves to final thickness before I could cut the legs and uprights to length. Otherwise I would have opened up a gap of at least the thickness I had sanded from the shelf pieces.
Order of Assembly
For reasons that are a little too confusing for me to attempt to describe, the order of doing everything was completely critical. If you look at the general design you will probably see that it had to be glued up in the correct order and that if I did it in the wrong order I could easily box myself into a corner and make it impossible to finish. This is always true, but in this case, it is a lot more true than usual.
Finishing
Whether ‘tis better to finish before assembly or after assembly – that is the question.
I usually apply the finish after I have glued up, but in this case I used a half‘n’half technique. I applied a very clear varnish to the sycamore before glue-up in order to make sure I would be able to remove any contamination that might occur when I applied a natural oil finish to the ebonised walnut following the glue-up.
The choice of walnut for the ebonised components originated from the many ebonising experiments I performed at the outset using different tannin-containing woods.
It is important to understand that ebonising is a more natural process than staining, because you are not applying colour to the wood – you are applying iron acetate to turn the natural tannins of the wood black, giving a more natural appearance. If iron acetate sounds like a nasty chemical, it is basically what you get when you leave steel wool in vinegar for a week.
Shaping the curved Parts
When cutting curved pieces from timber, the easiest method is always to cut each shape from separate wide pieces, but that is always the most wasteful. I hate wasting wood at any time, but even more so when it is as expensive as this. I had to spend a lot of effort working out how to cut out nested parts from one wider piece of timber rather than four separate slightly less wide pieces. Contact me if you are interested in the details of how I did this (without a large CNC machine).
Design of the Doors
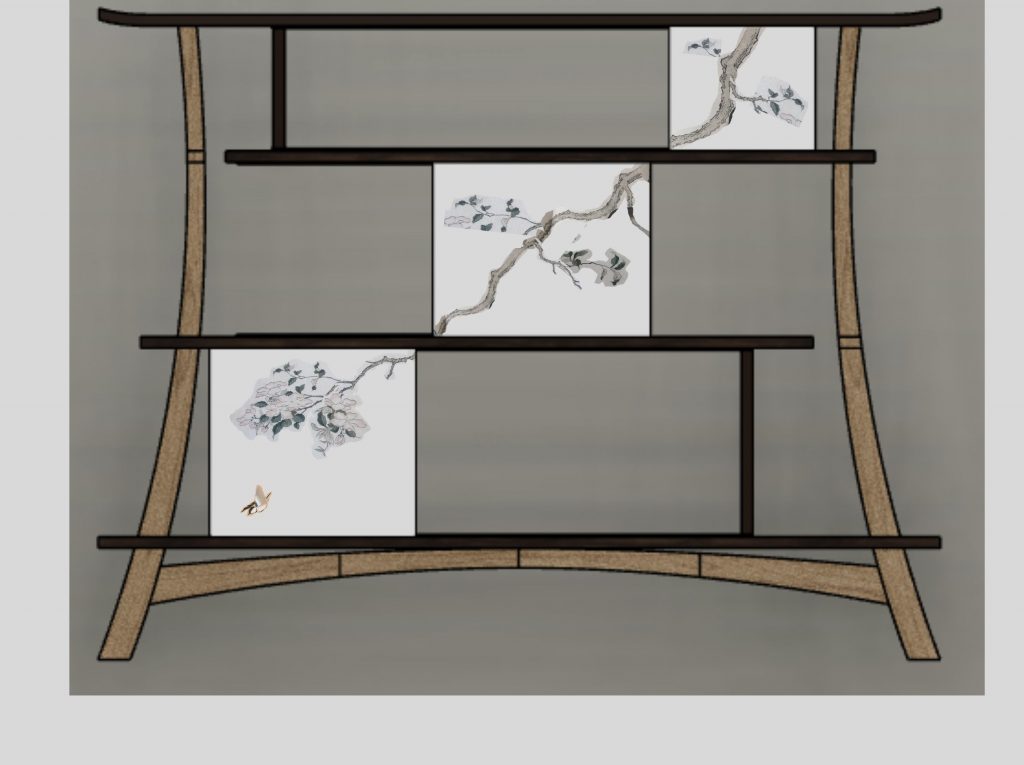
A central part of the design had been to use sliding doors from the outset, primarily because it allowed the customer to move them to different positions in order to vary the items being displayed at any one time and of course to vary the overall appearance of the cabinet itself.
The customer was also keen to have the smaller cupboards lined with a burr veneer so that it could be revealed when the doors were moved to one side, along with the most precious items contained within. The idea of adding the marquetry to the cupboard doors was also a suggestion by the customer.
I knew that my marquetry skills were not up to the job so I subcontracted this part of the operation out to Quentin Smith, who ran the one-day workshop I attended a few years ago. Before he could start work I had to use a mixture of software techniques to create a design that would take some of the elements of the customer’s Kitigawa Utamaro woodblock prints at the same time as looking coherent across all three doors, ideally even when they are open.
Once the customer had approved the design, I sent it to Quentin along with some samples of the burr veneer used inside the cupboards. These worked particularly well as the twigs and provided some continuity with the rest of the cabinet.
Doors (construction)
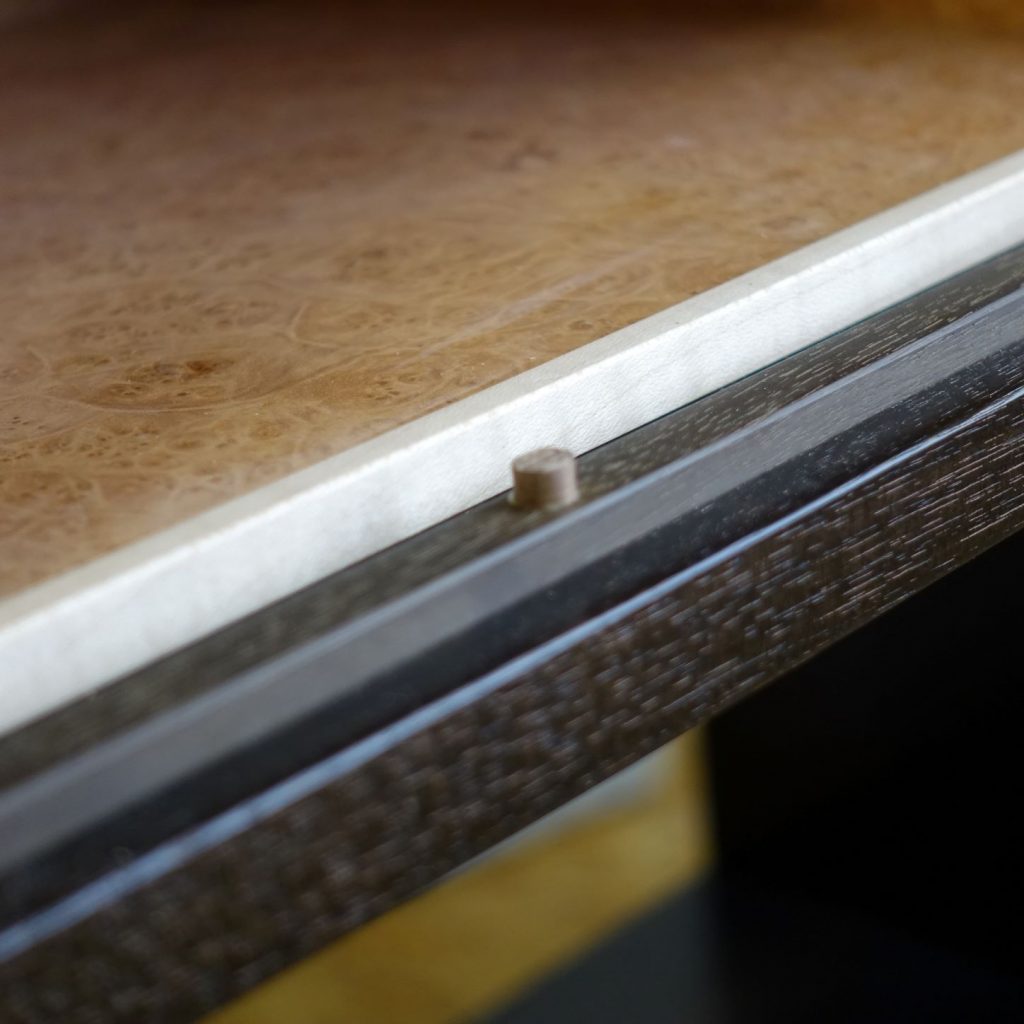
After experiments with running the sliding doors on brass strips proved somewhat noisy, I settled on the use of wooden strips running in grooves on the doors.
Another feature I was keen to develop was the use of magnets to locate the sliding doors. I believed this would make for a more sensual user experience than a hard stop, but this would also require extensive testing of the magnet strength and alignment.
I did already have some experience of using magnets in my magnetic knife racks. There the challenge is to place the magnets close enough to the surface to retain most of their force while being still distant enough not to be visible. The added challenge for the door strips was that this all had to take place in a relatively narrow strip using much smaller magnets.
It worked well on the mock-up, except where I forgot one basic principle of physics – opposite poles attract. That is not relevant when the intention is to attract knives, but with magnets in the doors and in the runner strips, my first attempt was closer to a (very poor) hover rail than a door stop. Perhaps that is an idea for a really smooth running future door, but for now, it was a development too far.
Internal Boxes
The only reason for having boxes within the cupboard was to permit the lining of burr veneer that the customer had requested. This would have been a lot easier to do if the rest of the cabinet had been veneered, but with that being of solid construction, it needed to be a veneered plywood box with a sycamore lipping to match the legs and doors. If I had just glued the veneer straight onto the inside of the cupboard it would have induced a moisture imbalance leading to possible warping.
Shaping of the legs.
The initial curve of the legs was done by machine, following a template. The tricky part here was doing it with a gentle taper along the length.
The bit I couldn’t manage to do on the machine was producing a rounded edge on all four sides of each leg that changed in radius from top to bottom. For that I had to sculpt them all by hand following much testing on spare components I had made in cheaper wood.
Upturn on the top
The original upturns used in traditional Japanese furniture were pieces of moulding fixed perpendicular to the ends of the boards. That would have been a lot easier to do, but it didn’t really fit with the contemporary look I was after. If I had realised how difficult it was going to be to do it my way, perhaps it would have been the look I was after.
Instead, I opted for cutting the shape from a thicker piece of solid wood. That sounds simple, but the whole process took about a week and a half with the testing and resolving issues of internal stresses in the wood caused by the unusual shape.
Photography.
Before I could deliver the piece to the customer, I had to turn one end of the workshop into a photo studio for a day;
Delivery
I had to build a dedicated crate for the cabinet to avoid any damage during delivery. The crate is still at the back of my workshop as the customer had said I would be able to borrow the cabinet to display at this year’s Cheltenham Celebration of Craftsmanship and Design. Given that particular show has now been cancelled, unfortunately, I don’t think I will be needing the crate any more.
Throughout the time I was creating this work, I had always envisaged being able to show it to the hundreds or thousands of visitors, but that now seems unlikely.
I am glad to report that the most important person in this process was overjoyed with the result, so at least that is one person who will be able to appreciate it whenever he is at his London residence.


